快速开始
大约 3 分钟
快速开始
利用环信单群聊 UIKit,你可以轻松实现单群和群聊。本文介绍如何快速实现在单聊会话中发送消息。
前提条件
开始前,确保你的开发环境满足如下条件:
- MacOS 12 或以上版本;
- React Native 0.71 或以上版本;
- NodeJs 16.18 或以上版本;
- 对于
iOS平台,需要Xcode工具,版本建议 14 或以上; - 对于
Android平台,需要Android studio工具,版本建议 2022 或以上。
实现发送单聊消息
第一步 创建项目
运行以下命令,创建项目。
npx react-native@latest init ProjectName
可能提示安装 react-native 最新版本。
创建完成,默认会初始化项目,安装依赖到 node_modules,以及生成 package-lock.json文件。如果使用 yarn 初始化,将生成 yarn.lock 文件。
第二步 添加依赖项
Chat UIKit SDK 需要额外的依赖。在 package.json 文件中添加依赖。
{
  "dependencies": {
    "@react-native-async-storage/async-storage": "^1.17.11",
    "@react-native-camera-roll/camera-roll": "^5.6.0",
    "@react-native-clipboard/clipboard": "^1.11.2",
    "date-fns": "^2.30.0",
    "pinyin-pro": "^3.18.3",
    "pure-uuid": "^1.6.3",
    "react": "18.2.0",
    "react-native": "0.73.2",
    "react-native-agora": "^4.2.6",
    "react-native-chat-uikit": "/Users/asterisk/Downloads/2024-04-19/react-native-chat-uikit-2.0.0-beta.0",
    "react-native-chat-sdk": "1.3.1",
    "react-native-audio-recorder-player": "^3.5.3",
    "@easemob/react-native-create-thumbnail": "^1.6.6",
    "react-native-device-info": "^10.6.0",
    "react-native-document-picker": "^9.0.1",
    "react-native-fast-image": "^8.6.3",
    "react-native-file-access": "^3.0.4",
    "react-native-gesture-handler": "~2.9.0",
    "react-native-get-random-values": "~1.8.0",
    "react-native-image-picker": "^7.0.3",
    "react-native-permissions": "^3.8.0",
    "react-native-safe-area-context": "4.5.0",
    "react-native-screens": "^3.20.0",
    "react-native-video": "^5.2.1",
    "react-native-web": "~0.19.6",
    "react-native-webview": "13.2.2",
    "twemoji": ">=14.0.2"
  }
}
iOS 平台
- 更新
Podfile文件:
# ...
target 'ProjectName' do
  # ...

  pod 'GoogleUtilities', :modular_headers => true
  pod 'FirebaseCore', :modular_headers => true

  permissions_path = File.join(File.dirname(`node --print "require.resolve('react-native-permissions/package.json')"`), "ios")
  pod 'Permission-Camera', :path => "#{permissions_path}/Camera"
  pod 'Permission-MediaLibrary', :path => "#{permissions_path}/MediaLibrary"
  pod 'Permission-Microphone', :path => "#{permissions_path}/Microphone"
  pod 'Permission-Notifications', :path => "#{permissions_path}/Notifications"
  pod 'Permission-PhotoLibrary', :path => "#{permissions_path}/PhotoLibrary"

  # ...
end
- 更新
Info.plist文件:
<dict>
	<key>NSCameraUsageDescription</key>
	<string></string>
	<key>NSMicrophoneUsageDescription</key>
	<string></string>
	<key>NSPhotoLibraryUsageDescription</key>
	<string></string>
</dict>
Android 平台
更新 AndroidManifest.xml 文件:
<manifest xmlns:android="http://schemas.android.com/apk/res/android">
    <uses-permission android:name="android.permission.INTERNET"/>
    <uses-permission android:name="android.permission.CAMERA" />
    <uses-permission android:name="android.permission.READ_EXTERNAL_STORAGE" />
    <uses-permission android:name="android.permission.WRITE_EXTERNAL_STORAGE" />
    <uses-permission android:name="android.permission.RECORD_AUDIO" />
</manifest>
第三步 添加代码
添加的主要代码包括登录、登出、发送消息。
import * as React from "react";
import { Pressable, SafeAreaView, Text, View } from "react-native";
import {
  Container,
  ConversationDetail,
  TextInput,
  useChatContext,
} from "react-native-chat-uikit";

const appKey = "easemob#easeim";
const userId = "du004";
const userPs = "1";
const peerId = "du005";

function SendMessage() {
  const [page, setPage] = React.useState(0);
  const [appkey, setAppkey] = React.useState(appKey);
  const [id, setId] = React.useState(userId);
  const [ps, setPs] = React.useState(userPs);
  const [peer, setPeer] = React.useState(peerId);
  const im = useChatContext();

  if (page === 0) {
    return (
      <SafeAreaView style={{ flex: 1 }}>
        <TextInput
          placeholder="Please App Key."
          value={appkey}
          onChangeText={setAppkey}
        />
        <TextInput
          placeholder="Please Login ID."
          value={id}
          onChangeText={setId}
        />
        <TextInput
          placeholder="Please Login token or password."
          value={ps}
          onChangeText={setPs}
        />
        <TextInput
          placeholder="Please peer ID."
          value={peer}
          onChangeText={setPeer}
        />
        <Pressable
          onPress={() => {
            console.log("test:zuoyu:login", id, ps);
            im.login({
              userId: id,
              userToken: ps,
              usePassword: true,
              result: (res) => {
                console.log("login result", res);
                console.log("test:zuoyu:error", res);
                if (res.isOk === true) {
                  setPage(1);
                }
              },
            });
          }}
        >
          <Text>{"Login"}</Text>
        </Pressable>
        <Pressable
          onPress={() => {
            im.logout({
              result: () => {},
            });
          }}
        >
          <Text>{"Logout"}</Text>
        </Pressable>
      </SafeAreaView>
    );
  } else if (page === 1) {
    return (
      <SafeAreaView style={{ flex: 1 }}>
        <ConversationDetail
          convId={peer}
          convType={0}
          onBack={() => {
            setPage(0);
            im.logout({
              result: () => {},
            });
          }}
          type={"chat"}
        />
      </SafeAreaView>
    );
  } else {
    return <View />;
  }
}

function App(): React.JSX.Element {
  return (
    <Container options={{ appKey: appKey, autoLogin: false }}>
      <SendMessage />
    </Container>
  );
}

export default App;
第四步 编译和运行
- 对于
iOS平台,运行yarn run ios; - 对于
Android平台,运行yarn run android。
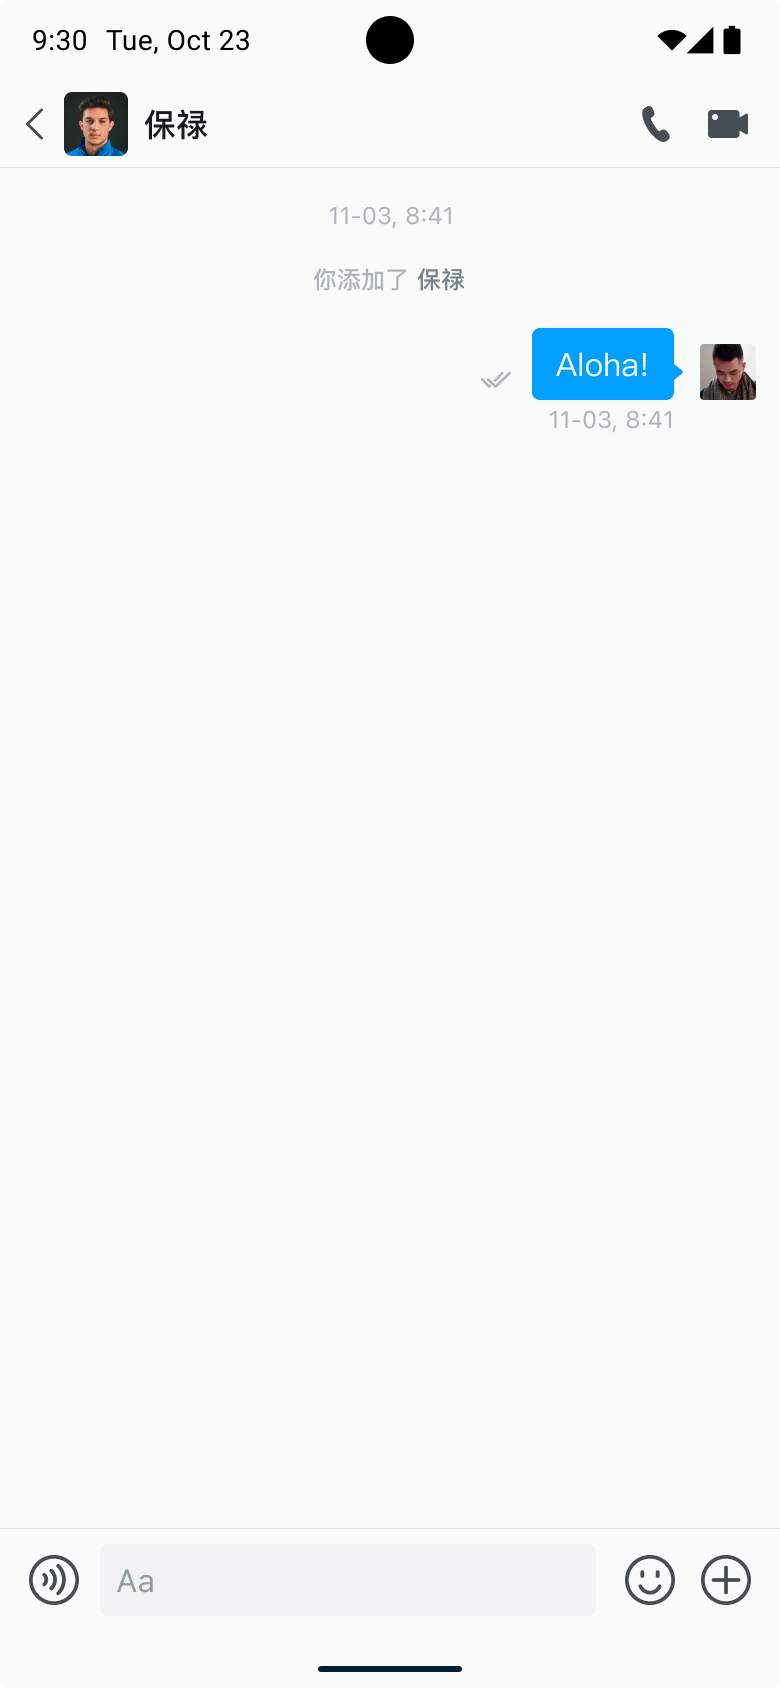
第五步 发送第一条消息
点击登录按钮,进入聊天页面,输入文本内容,点击发送。